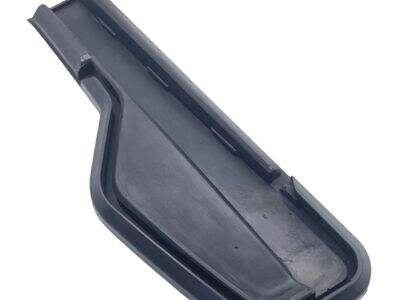
Sealing strips are specific materials that help seal the gap between the windows and doors. These strips are extremely useful because they assist in keeping your home warm in winter and cool in summer. Blocking drafts can significantly impact your home's comfort level and sealing strips can help a lot. They are super easy to install! All you need are a few basic tools and directions. So let’s learn how to do it with RONGHE
How to Install Sealing Strips
Step 1: Measure the Gap
First, you should measure the gap where you plan to install the sealing strip. Find out how long the sealing strip should be by using a measuring tape or ruler. Be sure to measure in all directions, and the perimeter of the door or window, to ensure the right length is achieved. You might consider jotting those numbers down so you don’t forget them! This will allow you to cut the sealing strip to the appropriate size afterward.
Step 2: Clean the Area
Then, it is time to clean the area for the sealing strip. This is very important! Use a clean cloth to wipe away any dust, dirt, or water on the surface. If the area is dirty or wet, then the sealing strip may not stick on it properly, and it won’t work that well. If you take the time to clean the area, it will allow the strip to stay on much longer.
Step 3: Cut the Sealing Strip
Let’s get to cutting that sealing strip! If you have your measurements, cut the sealing strip to size. And be very careful when you’re cutting, make sure that you cut straight on the lines. That way, there won’t be extra material to cause gaps. Take your time with this step and it will make the installation a breeze!
Step 4: Apply the Sealing Strip
The next step after cutting is to apply the sealing strip. Peel the back cover from the sealing strip, firstly This will expose the sticky face. Then, position it carefully over the gap you measured. But once you get it lined up, press it down solid. This is very important! Position it properly to get the most out of it. A good seal will ensure that your home stays as comfortable as possible.
Step 5: Repeat
For other part, you will have to repeat the above steps if you have more gaps to seal. Carefully measure and cut the sealing strip and stick it on to ensure everything fits snugly. You will want to do this for every gap so your home is well insulated.
How to Install Sealing Strips: Useful Tips
Here are a few helpful tips to ensure your installation process runs smoothly:
You'll find yourself constantly measuring the gap before cutting the strip. Getting accurate measurements is the secret to making sure it all fits together.
The area needs to be cleaned well to help the sealing strip stick properly. A clean surface does so much.
The strip can be cut neatly with scissors or a special cutting blade. Be sure your cuts are strait!
As you lay the strip onto the surface, make sure you press it evenly so you don't create any lumps. This will make it easier for the strip to seal.
Make sure to press the sealing strip firmly so that it adheres well. A tight seal will aid in keeping your home comfortable.
Great Things about Installing Your Own Sealing Strip
RONGHE DIY installations of sealing strips are very easy and beneficial! Not only does it save time and cost but doing it yourself is a fun project to go for. Looks beautiful and with the right steps and high quality sealing strips, this can be done by anyone! You don’t have to wait for a pro to come help, so you can take care of it on your own time frame. And besides, it’s nice to knock out a home improvement project all on your own!
Conclusion
To summarize, if you follow these steps you will find installing sealing strips simple and straightforward. Under the guidance of RONGHE, you can do it all by yourself. This helps to ensure that your home stays comfortable, but it also saves you energy and money on heating and cooling costs. Keep in mind that a proper sealing strip will change a lot the atmosphere of your house! Best wishes for sealing, and have a snug dwelling!


